An important task is the physical build of the chessboard and the attachment of components. This section covers some thoughts and tips on this topic. Thanks also to Brian who has provided some very helpful ideas, which look like they will simplify the Build.
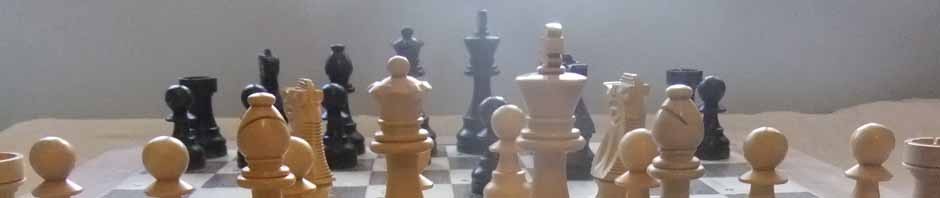
The ChessBoard
In my first build, I constructed the chessboard from scratch using wood veneers. One of the reasons I did this was to get the Reed switches within about 4mm of the board service. By building my own, I could make it thin. This approach worked, and was very satisfying, but time consuming and possibly unnecessary.
Another approach is buy a standard board and either rout or drill it to fit the components.
Routing:
On my new build I routed the board with the aim of laying the reed switches flat in the routed groove. This also had the advantage of laying the Reed grid away from the LED grid. However to do it you need a decent router, which not everybody has. See also the issue of Reed switch positioning below
My Routing Setup:
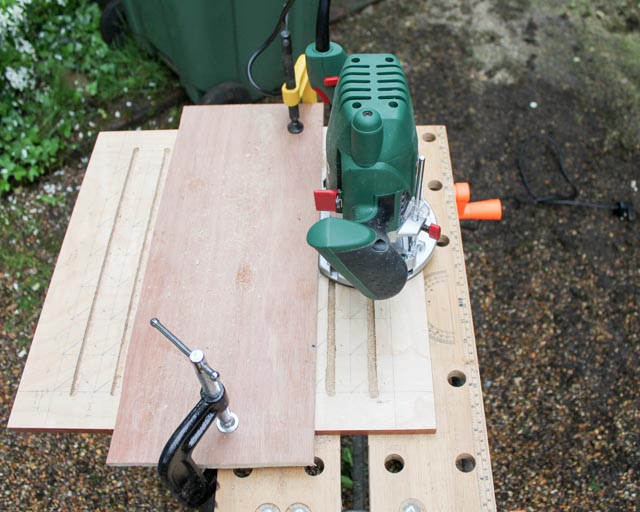
The Routed Board
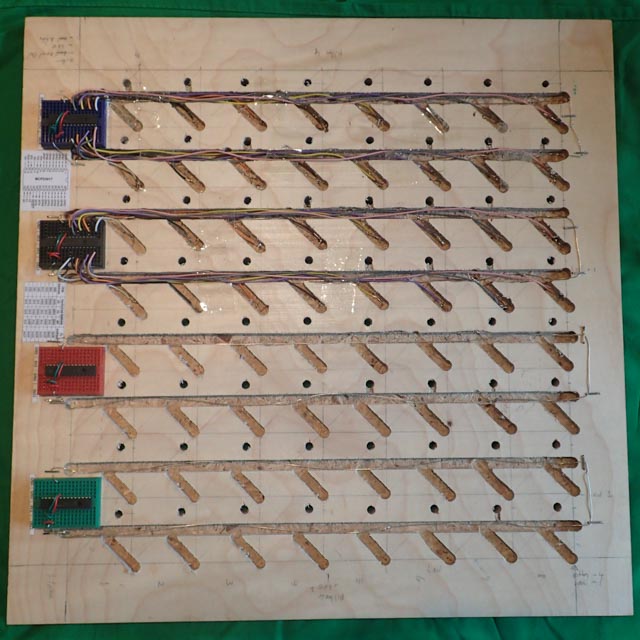
The illustration below shows the board with holes drilled for LEDs and grooves for the wiring and the Reed switches. Note that the reed switches are set at an angle and off set, which seems to provide reliable switch operation. This photo also shows the four MCP23017’s each controlling 16 reed switch by direct connection. ie not as a matrix.