Useful techniques and tips when building Raspberry Pi projects:
(Only one at present, but you’ve got to start somewhere)
Wire preparation
In my projects I use 1/0.6 single core equipment wire (not stranded wire) and I have lots of colours. Single core wire is easy to work with and can be inserted directly into a breadboard. The colours help get connections right. Single core wire is not good if it needs to flex or bend in use. Then use stranded wire.
In the projects you often need to prepare a wire that has gaps for soldering parts but insulation over most of it to stop short circuits with other wires. The best technique I know is as follows:
Lets assume you are need a wire to join 8 components evenly spaced at 1.75″. This means there will be 7 gaps (the last component is at the end. Allowing 0.25″ for the soldering gap, this means there should be 1.5″ of insulation between each connection and a total of 7 x 0.25″ of gap = 1.75″, add another 1″ for safety = 2.75″. (you can trim it later if its too much, but you cannot add more on)
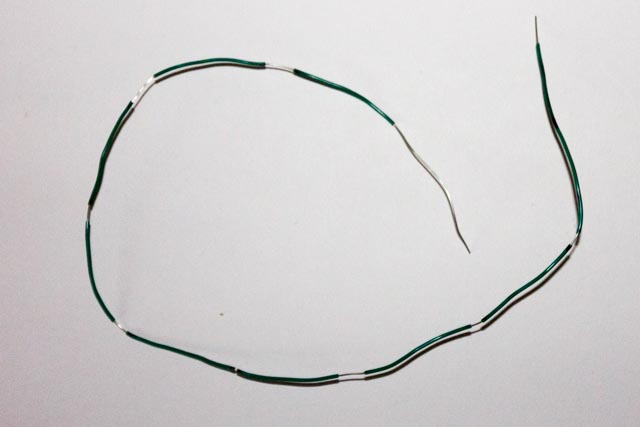
Start by stripping 2.75″ from one end leaving that end bare. Then on the wire insulation mark 7 sections of 1.5″. Then using a good wire stripper start with the end with the big stripping and strip the wire from the first mark. You will be then be able to shuffle the insulation up towards the exposed end, Carry on like this down the wire and then when finished shuffle all the insulation around so you have 0.25″ gaps between 1.5″ of insulation as shown below You can easily adapt this process for less regular gaps.

Wire with gaps
